Maximize Your Welding Projects with the Versatile Unimig Viper Welder
Overview of the Unimig Viper Welding Series
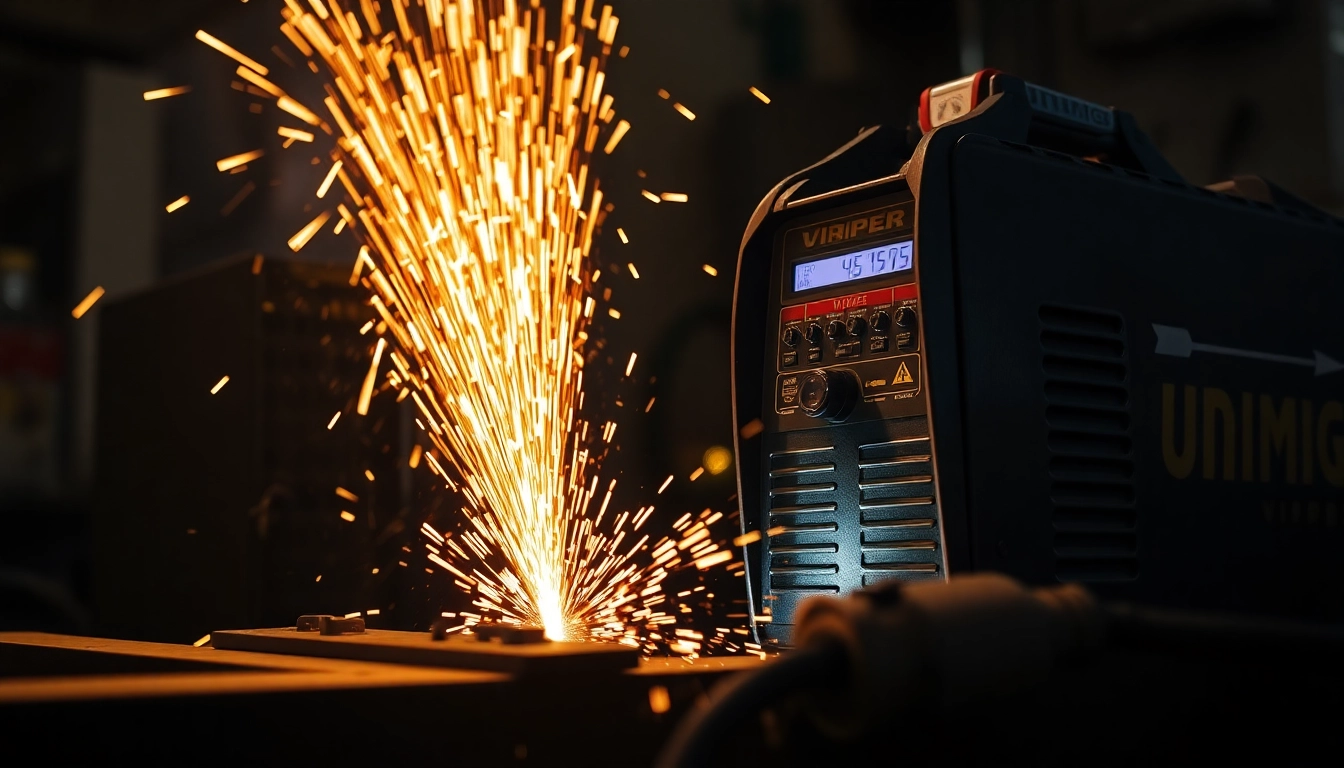
The unimig viper welding series stands out as a versatile option for both professional welders and hobbyists. Designed for efficiency and ease of use, the Viper series comprises multiple models, including MIG, TIG, and Stick welders. This multi-process capability allows users to seamlessly switch between different welding techniques, making it an ideal choice for various applications—from intricate metalwork to substantial repair tasks. In this article, we explore the features of the Viper series, help you choose the right model, guide you through setup and maintenance, and provide advanced welding techniques to maximize your results.
Key Features and Specifications
The Unimig Viper welding machines are characterized by their compact design, power, and functionality. Some of the notable features include:
- Multi-Process Capability: Viper models support MIG, TIG, and Stick welding, equipping the user to handle a diverse range of materials and thicknesses.
- High Efficiency: With a focus on energy efficiency, Viper welders can operate on standard 10A outlets, making them accessible for home projects.
- User-Friendly Controls: The synergic settings allow you to adjust welding parameters automatically, simplifying the process for beginners while ensuring precision for professionals.
- Durable Build: Designed with robust materials, Viper welders are built to withstand the rigors of consistent use, promising longevity and reliability.
- Portability: Many models are lightweight and portable, making them easy to transport to job sites or around the workshop.
Benefits of Using Unimig Viper
Choosing the Unimig Viper means investing in equipment that offers numerous benefits conducive to both quality results and user satisfaction:
- Flexibility: The multi-process functionality means you don’t need multiple machines, saving both money and space.
- Accessibility: Designed for users at any skill level, Viper welders are engineered to allow beginners to learn quickly without sacrificing the quality that professionals expect.
- Versatile Applications: From hobby projects to repairs and light fabrication work, the Viper series can excel in various environments, enhancing your project capabilities.
- Economic Efficiency: As cost-effective machines, Viper welders provide robust performance without breaking the bank, ideal for DIY enthusiasts or small business owners.
Comparison with Competitor Welders
When comparing the Unimig Viper series to its competitors, several factors stand out. Competitors may offer models with higher output, but the Viper’s unique combination of multi-process capabilities, portability, and ease of use makes it particularly appealing for those engaged in home projects or smaller-scale welding tasks.
For instance, while brands like Miller and Lincoln Electric provide powerful options aimed at industrial applications, the Viper series shines with its affordability and user-friendly features, aligning perfectly with the needs of weekend warriors and artisans alike.
Choosing the Right Unimig Viper Model
With several models under the Unimig Viper banner, selecting the right one can be daunting. Here’s how you can decide:
Viper 185 vs. Viper 195: Which is Best for You?
The Viper 185 and Viper 195 models offer similar functionalities but cater to different needs:
- Viper 185: This model is an excellent choice for hobbyists and those taking on home repair projects. It has a welding current range of 30-185A, making it ideal for various thicknesses.
- Viper 195: Designed for users requiring more power, the Viper 195 supports heavier-duty applications with a slightly higher output, making it suitable for light industrial work.
Ultimately, the choice between the two may depend on your typical project scale and material thickness.
Understanding Multi-Process Welding Technologies
Multi-process welding is increasingly becoming a standard in modern welding machines. Unimig’s Viper series utilizes this technology allowing operators to change welding processes without needing to switch machines:
- MIG Welding: Ideal for fast, clean welds with a feed of consumable wire, perfect for projects requiring speed and efficiency.
- TIG Welding: Offers a clean, precise weld, particularly suitable for thin materials or applications demanding meticulous detail.
- Stick Welding: Provides a robust solution for outdoor jobs and thicker materials where wind or contamination could affect a clear arc.
This versatility is a game-changer, allowing users to adapt their approach based on project demands effectively.
Evaluating Your Welding Needs
Before choosing a model, consider these factors that may influence your decision:
- Material Types: Are you mostly working with steel, aluminum, or a mix? Some models perform better on specific materials.
- Project Scale: Determine how often you’ll be welding and the typical thickness of materials. This will guide you in selecting between models like the Viper 185 or 195.
- Welding Environment: Think about where you’ll be welding. Portability might be essential if you transport your welder to various locations.
Setting Up Your Unimig Viper Welder
Setting up your Unimig Viper welder correctly is crucial for optimal performance:
Essential Preparation and Safety Tips
Before diving into the setup process, it’s vital to observe safety precautions:
- Personal Protective Equipment (PPE): Always wear appropriate welding gear, including gloves, a mask, and flame-resistant clothing.
- Work Area: Ensure your workspace is clean, well-ventilated, and free of flammable materials to mitigate any risks.
Step-by-Step Installation Guide
Follow these steps to set up your Unimig Viper welder:
- Unpack the Welder: Remove the unit from its packaging and place it on a stable surface.
- Connect Gas Supply (for MIG/TIG): If using gas shielding, connect your gas bottle and ensure the regulator is correctly set up.
- Load Filler Wire: For MIG welding, thread the filler wire into the machine according to the manual instructions.
- Power Connection: Plug the welder into a suitable power outlet (10A for most Viper models) and ensure the switch is in the off position before turning it on.
- Settings Adjustments: Set the appropriate parameters based on your welding material and thickness.
Troubleshooting Common Setup Issues
Despite a straightforward setup, users may encounter some issues:
- Improper Gas Flow: Check your connections and ensure your gas bottle is not empty.
- Inconsistent Wire Feed: Inspect your wire spool and ensure there are no twists or jams.
- Power Issues: Always check the power lead and verify that the outlet functions correctly.
Advanced Welding Techniques with Unimig Viper
Once your Unimig Viper welder is set up, you can explore some advanced welding techniques to enhance your results:
How to Successfully Weld Aluminum
Welding aluminum can be challenging but is achievable with the correct settings and techniques:
- Choose the Right Filler Rod: Use an aluminum-specific filler rod that matches the base material.
- Adjust Your Settings: Aluminum typically requires higher voltage than steel. Refer to your welder’s manual for recommended settings.
- Clean the Surface: Ensure the aluminum surface is free of dirt and oxide.
Practicing on material scraps can help fine-tune your technique before working on the final project.
Tips for Achieving a Clean Finish
Here are some tips to ensure your welds look professional:
- Travel Speed: Maintain a consistent travel speed to avoid burn-through or undercut.
- Angle of the Torch: Keep the torch at a suitable angle for optimal penetration without overheating the base material.
- Sequential Welding: For larger components, weld in passes rather than a single bead to control heat more effectively.
Using Unimig Viper for DIY Projects
The Viper series is not just for professionals; it is also perfect for DIY enthusiasts. Here are some project ideas:
- Home Repairs: Fix broken metal fixtures like gates, railings, and furniture.
- Artwork and Sculptures: Embark on creative projects, such as metal sculptures or custom furniture pieces.
- Automotive Work: Perfect for car enthusiasts looking to restore or customize their vehicles.
Maintenance and Care for Your Unimig Viper Welder
To ensure the longevity and performance of your Unimig Viper welder, regular maintenance is essential:
Routine Maintenance Tips
Implement these maintenance practices:
- Clean the Machine: Regularly remove dust and debris from the welder using a soft cloth.
- Inspect Leads and Cables: Frequently check for signs of wear or damage to prevent electrical issues.
- Check Gas and Filler Rod Supply: Ensure you always have adequate supplies to prevent interruptions during welding.
Identifying and Resolving Issues
If your welder encounters issues, these steps can help you troubleshoot:
- Inconsistent Arc: Verify that all connections are secure and that your settings are appropriate for the material.
- Overheating: Allow the machine to rest if it becomes hot; prolonged use without breaks can lead to malfunctions.
Extending the Life of Your Welder
There are several best practices you can adopt to extend the lifespan of your Unimig Viper welder:
- Store Properly: When not in use, store your welder in a dry, protected environment to prevent rust and damage.
- Follow Manufacturer Guidelines: Always adhere to the operating instructions and maintenance schedules provided in the manual.
- Professional Servicing: Consider periodic servicing by qualified technicians to catch any potential issues early.


Leave a Comment